Campaigns list
The list of all campaigns with some of their general information is available in the Campaigns tab. Grouping the campaigns with folders is also possible. Here is where your tags will be shown too.
Use EpisXperience Campaigns module to create, manage and organise campaigns.
Accessing the Campaigns module
Navigate to the “Campaigns” tab in the top navigation bar.
This section displays all your campaigns in a structured table format.
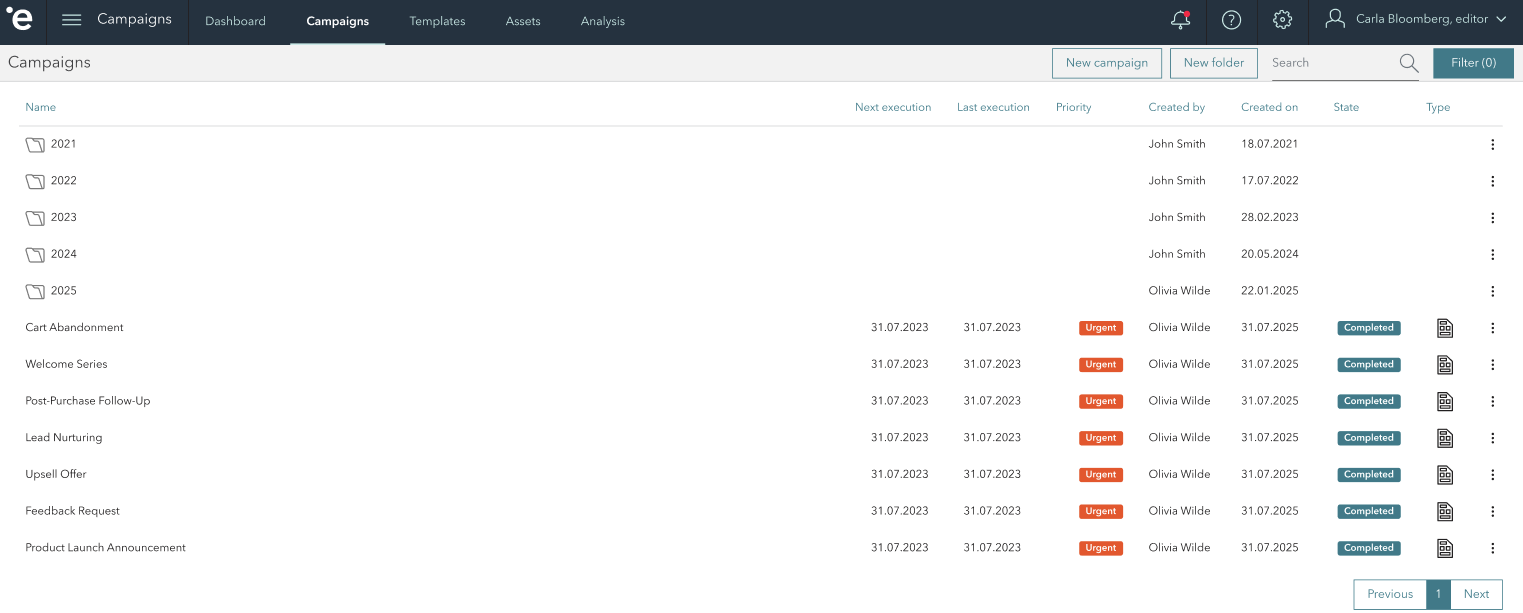
Understanding the Campaign List View
Each row in the table represents a campaign with the following columns:
Column | Description |
|---|---|
Name | Title or identifier of the campaign. |
Next Execution | Scheduled date/time for the next run. |
Last Execution | Date/time of the most recent execution. |
Priority | Urgency level (e.g., Low in green, Urgent in red). |
Created by | Name of the user who created the campaign. |
Created on | Date the campaign was created. |
State | Current status (e.g., Completed in blue, Cancelled in red). |
Type | Icon representing the campaign type or category. |
Sorting & Search
Sort: Click on any column header (e.g., Name, Priority) to sort campaigns.
Search: Use the search bar in the top-right to filter campaigns by keyword or campaign id.
Search works across all folders and returns a flat list of campaigns that match the search criteria.
Filtering
Use the Campaigns Filter to narrow down the list of campaigns based on specific criteria. This helps you quickly locate campaigns by status, type, mode, and more.
Filter menue can beaccessed by clicking on the Filer button in the top-right corner.
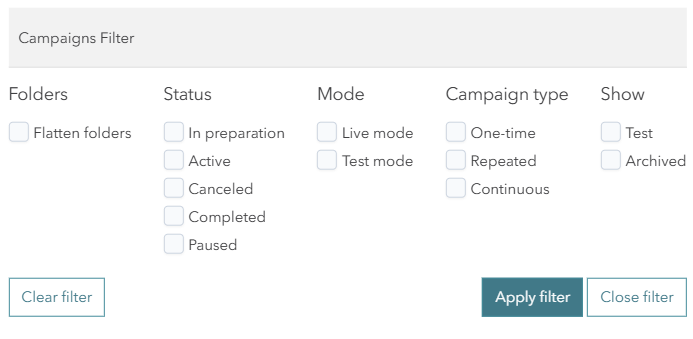
Available Filtering Options
Flatten folders: Displays all campaigns in a single list, ignoring folder hierarchy.
Status: Filter campaigns by their current state:
In preparation
Active
Canceled
Completed
Paused
Mode: Choose the operational mode of campaigns
Live mode
Test mode
Campaign Type: Select the type of campaign:
One-time
Repeated
Continuous
Show: Include additional campaign display options
Test: Show test campaigns.
Archived: Show archived campaigns.
Applying Filters
Click “Apply filter” to activate your selected filters.
Click “Clear filter” to reset all selections.
Click “Close filter” to exit the filter panel without applying changes.
Clicking on the campaign name opens the clicked campaign
For a more detailed explanation of the statuses related to the Priority column, kindly refer to the information provided in the following link Campaign settings
For a more detailed explanation of the statuses related to the State column, kindly refer to the information provided in the following link States
For a more detailed explanation of the statuses related to the Type column, kindly refer to the information provided in the following link Scheduler
Clicking on the triple dot icon button, it opens a menu presenting you with various options to choose from.
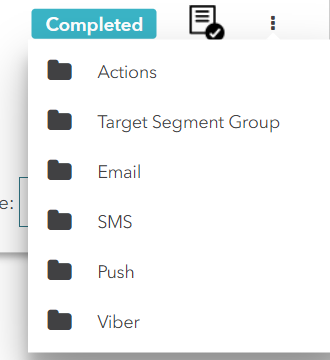
Campaign Options Menu
Actions
Campaign Duplicate: duplicates your campaign
Archive: archives the campaign
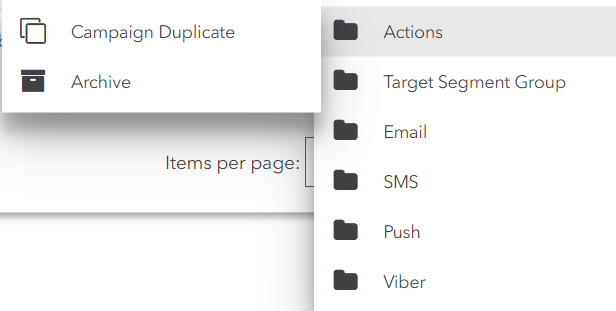
Actions Menu
Target Segment Group
Export Control Group: exports your chosen control group for the selected campaign
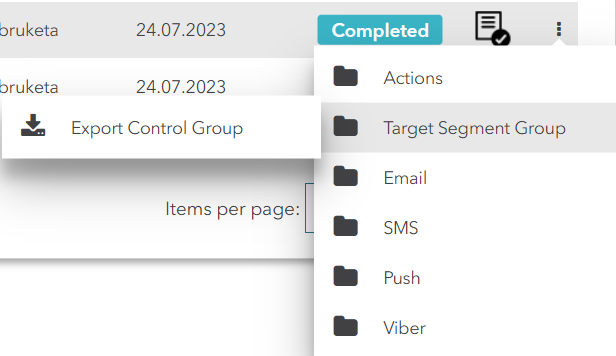
Target Segment Group Menu
Email Sent: Exports an .csv file containing all emails that have been successfully sent
Email Delivered: Exports an .csv file containing details of all emails that have been successfully delivered
Email Bounced: Exports an .csv file listing all emails that were not delivered due to being bounced back by the recipient's email server
Email Rejected: Exports an .csv file with information about emails that were rejected by the recipient's email server
Email Complained: Exports an .csv file containing data on emails that were registered as complained by the recipients
Email Failed: Exports an .csv file listing all emails that failed to be delivered for various reasons
Email Opened: Exports an .csv file providing details of all emails that have been opened by the recipients
Email Clicks: Exports an .csv file containing information about emails where recipient clicks were registered on specific links within the email
Email Queued: Exports an .csv file listing all emails currently in the queue, awaiting delivery

Email Menu
SMS
SMS Sent: Exports an .csv file containing all SMS messages that have been successfully sent
SMS Delivered: Exports an .csv file containing all SMS messages that have been successfully delivered
SMS Undelivered: Exports an .csv file all SMS messages that were not successfully delivered to their intended recipients
SMS Failed: Exports an .csv file listing all SMS messages that failed to be delivered for various reasons
SMS Queued: Exports an .csv file listing all SMS messages currently in the queue, awaiting delivery
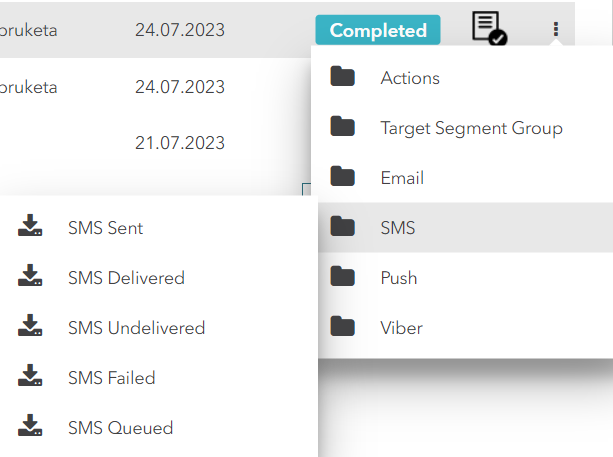
SMS Menu
Push
Push Delivered: Exports an .csv file containing details of all push notifications that have been successfully delivered to their intended recipients
Push Undelivered: Exports an .csv file listing all push notifications that were not successfully delivered to their intended recipients, encountering delivery issues or failures
Push Opened: Exports an .csv file providing information about push notifications that were opened by the recipients
Push Queued: Exports an .csv file listing all push notifications that are currently in the queue, awaiting delivery to the recipients
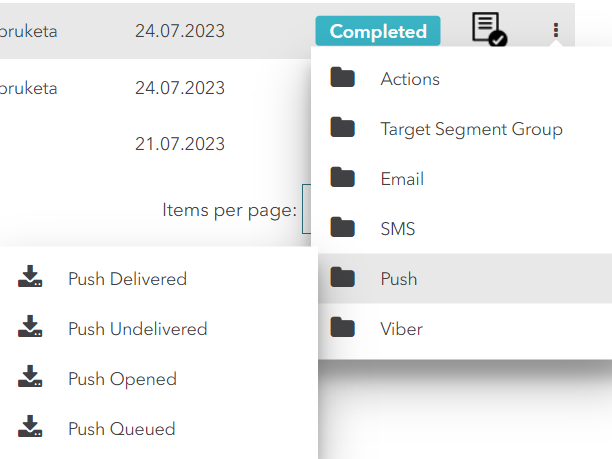
Push Notification Menu
Viber
Viber Sent: Exports an .csv file containing details of all Viber messages that have been successfully sent
Viber Delivered: Exports an .csv file listing all Viber messages that have been successfully delivered to their intended recipients
Viber Rejected: Exports an .csv file with information about Viber messages that were rejected by the recipient's device or network
Viber Queued: Exports an .csv file listing all Viber messages that are currently in the queue, awaiting delivery to the recipients
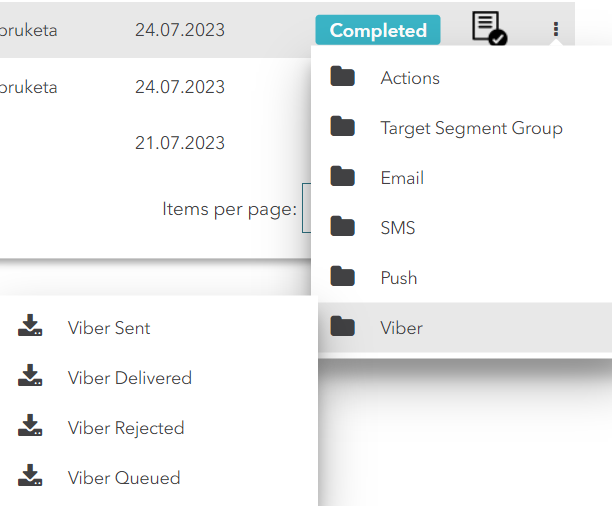
Viber Menu